
PayU - Tally
Guide to use Tally with PayU
Automating Vendor Payment Solutions

GETTING STARTED
Login to your PayU account
01

From the left Navigation Bar,
select the Integrations tab
and then click on the View
Integrations button
02

On the Tally plugin card,
click on the Download
Plugin button. This will
download an exe package
on your system
03
04
Install this downloaded
package by manually
specifying the path to your
ini file in the Tally programs
or applications directory.

In the settings, go to Users
& Permissions and then
click on Add Role
Add the new role with a
name of your choice. We
have used ‘Tally Checker’
05

Check the following
permissions under Payouts:
1. Payouts - Checker
2. Payouts - View
Beneficiaries
and then click on Create Role

Now, Click on the Add
Employee button
Select the role you have
just created and add a
new email id to create the
employee
06
LINKING TALLY AND PAYU ACCOUNT
The plugin installation will
successfully load the tcp file.
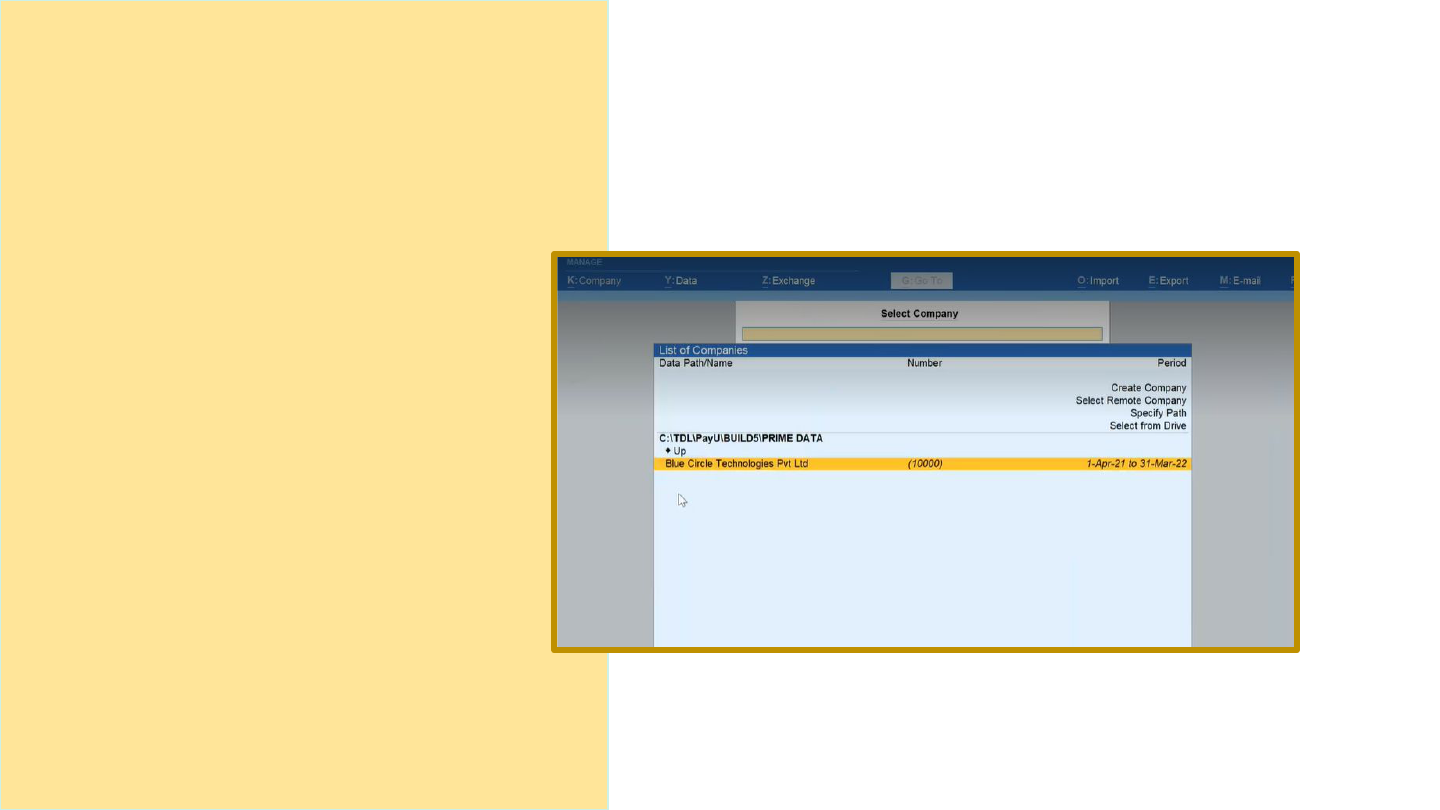
Now, login to your Tally
account and select the
company that you want to link
with PayU
07

Enable the PayU integration for
the selected company -
● Alter the company
● Activate the integration
08

Enter your PayU username and
password.
Ensure that you input the correct
credentials
09
After enabling the integration follow the below steps:
Select your merchant
Id
Your request to link
Tally-PayU will be sent
to the account Admin
1 2 3

CONFIRMING THE CONNECTION REQUEST
Following the above steps,
will send a connection
request on your PayU
account dashboard.
Click on the View details
button to proceed to
confirm the connection
10

To enable the integration, You will
need Admin access
First, Activate Payouts in your
account.
For step 2 and 3, you can simply click
on the ‘Click here’ button to enable
the default settings.
11

Once all the settings are enabled, click on
the Confirm button to activate the
integration
CONGRATULATIONS!
You have successfully
linked Tally and PayU

PAYING BILLS FROM TALLY
In your selected company,
go to PayU from the
gateway of Tally
Now select PayU Bills and
then Bills pending for
payment.
This would give you a list
of all the payable vouchers
available in tally
12

13
Go to Bills ready for sending
You can select to pay single,
multiple or all the bills.

Choose the Payment Type
for your bill:
IMPS / NEFT / RTGS / UPI
Select Yes on both the pop ups
as confirmation.
This will send a payment
request to PayU
14

Login to PayU and go to
Payouts from the left
navigation bar.
You will be able to see the
Tally bills here
Once the bill is approved
by the checker, payment
will be processed
APPROVING IN PAYU
15

Once the payment is processed
via PayU, the payment status
gets redirected to tally.
The pending bills can be
checked in the Check Payment
Status button in Tally.
Once the bills are successfully
paid, a direct entry is created for
the bill

A payment voucher gets created
automatically and the bank transaction
reference number also gets saved
against the bill
16

HAPPY PAYMENTS TO YOU!
